

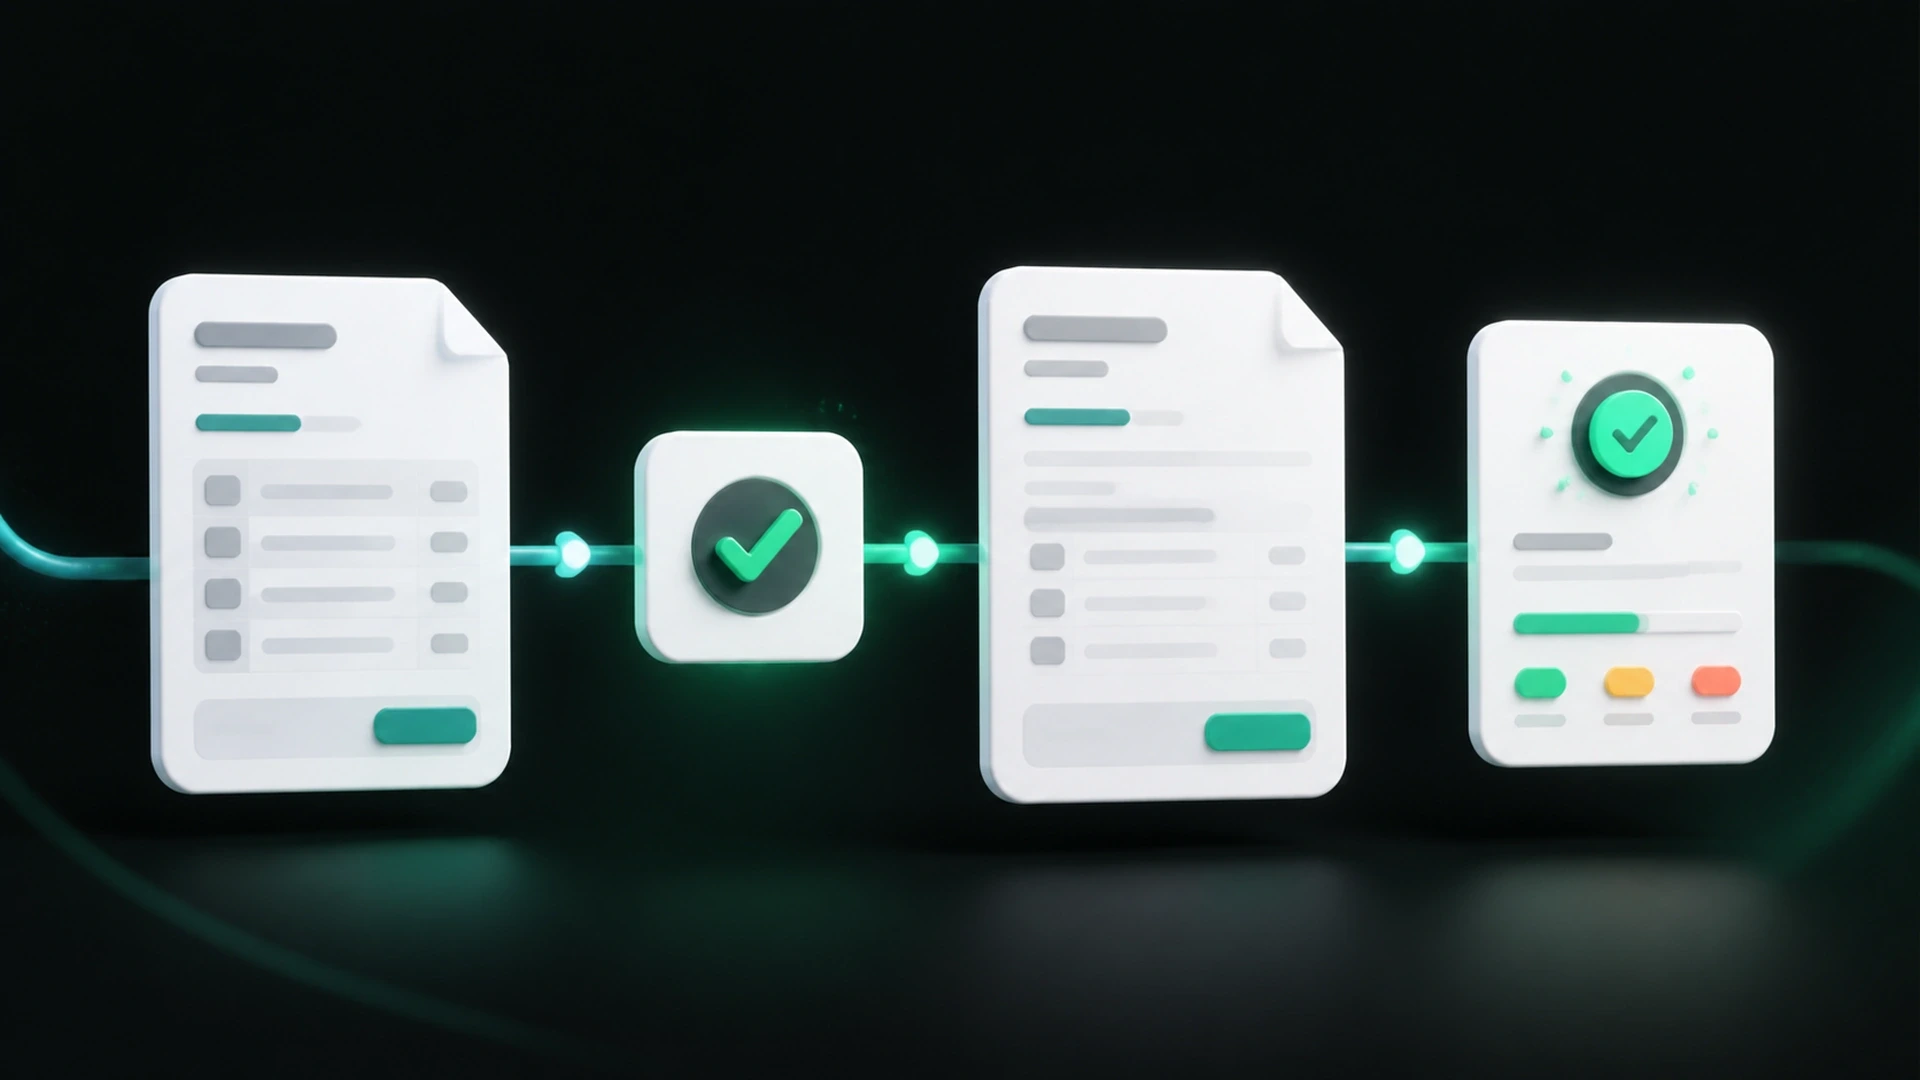
For a service business, billing begins before the invoice. It often starts with a conversation, a project scope, and an estimate that helps the client decide whether to move forward.
When estimates, approvals, invoices, and payments live in separate tools, small details can get lost. A connected workflow gives your team and your client a clearer path from “What will this cost?” to “Payment received.”
What is an estimate-to-payment workflow?
An estimate-to-payment workflow is the sequence a business uses to define proposed work, obtain client approval, create the final invoice, collect payment, and keep the remaining balance accurate.
A practical workflow usually includes:
- Create a detailed estimate.
- Send it to the client.
- Record acceptance or rejection.
- Convert the accepted estimate into an invoice.
- Deliver the invoice with clear payment options.
- Record full or partial payments.
- Keep the invoice status and balance current.
The value is not simply having more documents. It is making each document lead naturally to the next step.
Step 1: Create an estimate the client can understand
A useful estimate describes the proposed work, products, quantities, rates, taxes when applicable, and relevant notes. It should be detailed enough to support a decision without overwhelming the client.
For example, a contractor might separate labor, materials, and optional work. A consultant might divide a project into discovery, delivery, and support. A repair business might list parts and estimated labor.
Keep the scope recognizable
Use the same language you used during the sales conversation. If your client requested a “monthly maintenance package,” do not replace it with an internal code they will not recognize.
Make assumptions visible
If pricing depends on quantities, timing, or client-provided information, explain that in the notes. Clear assumptions reduce unnecessary questions later.
Include the next step
Tell the client how to accept, reject, or ask a question. A documented approval helps both sides move forward with a shared understanding.
Step 2: Capture the client’s decision
An estimate should not disappear into an email thread. Track whether it is pending, accepted, or rejected so your team knows what can move forward.
An online approval flow gives the client a direct action and creates a clearer record than an informal reply. If the client requests changes, revise the estimate before treating it as approved.
Step 3: Convert the accepted estimate into an invoice
Re-entering the same client, item, rate, and tax information wastes time and creates another opportunity for mistakes. A one-click conversion preserves the approved details while turning the estimate into a billable document.
Before sending the invoice, review what changed between the proposed and completed work. Add approved additions, remove work that was not delivered, record any deposit, and confirm the final amount.
Step 4: Send a clear, professional invoice
The final invoice should include:
- Your business and client information
- A unique invoice number
- Issue and due dates
- Clear line items
- Taxes, discounts, deposits, or adjustments when applicable
- The total and remaining balance
- Payment instructions
- Supporting notes or attachments
Send the invoice through a channel your client can use easily. Email provides a direct notification. A secure public link can let the client view and pay without creating an account. A PDF gives them a document to download or archive.
Step 5: Make payment easier to complete
A client should not have to ask how to pay. Keep payment instructions close to the amount due and provide the options your business supports.
With GetBill’s Pro Plan, eligible businesses in the United States can add Stripe payment links to invoices. Payment-method availability depends on Stripe, the account, the customer, and the applicable configuration.
The goal is not to promise an instant payment. It is to remove avoidable friction from the client’s next step.
Step 6: Track deposits, installments, and balances
Many service projects are not paid in one transaction. You may collect a deposit before work begins, another payment at a milestone, and the final balance at completion.
Each payment should be recorded against the invoice. The updated document and account record should show what has been paid and what remains due.
This is especially useful when clients pay with different methods, such as a card, bank transfer, or cash. A single current balance prevents your team from relying on memory or checking multiple records.
Step 7: Keep statuses current
Useful statuses may include draft, sent, partially paid, paid, or overdue, depending on the workflow. The important point is that the status reflects reality.
GetBill can update an invoice automatically when a supported Stripe transaction clears. For manually recorded payments, update the invoice as part of the same task so the balance does not become outdated.
Where service businesses lose time
Creating the same client and service information repeatedly
A reusable catalog gives your team a more consistent starting point. It also reduces small variations in descriptions and prices.
Searching email for the latest approved version
Keep the approval state connected to the estimate. When revisions are required, make the latest version clear.
Building the invoice from scratch
Convert the accepted estimate instead of copying its details into a new file.
Tracking deposits outside the invoice
Record partial payments where the full balance is managed. This keeps the remaining amount visible.
Using different tools for every stage
Each handoff creates another place where information can become inconsistent. A focused billing workflow reduces those handoffs.
How GetBill connects the workflow
GetBill helps service businesses create detailed estimates, send them for client approval, convert accepted estimates into invoices, share professional documents, add payment options, and track partial payments and balances.
The app is designed for businesses that want more structure than spreadsheets without adopting complex accounting software for a focused billing task.
GetBill is available for Android in the United States. The iOS app is currently under review.
A workflow you can use this week
Start with one real project and follow the same sequence from beginning to end:
- Create the client and service items once.
- Build a detailed estimate.
- Send it for a clear decision.
- Convert the accepted version into an invoice.
- Review the final work and balance.
- Send the invoice with a clear payment path.
- Record each payment as it arrives.
Once the workflow is repeatable, train everyone involved in billing to follow the same steps.
Connect your estimate-to-payment process
Bring your next estimate, invoice, and payment into one focused workflow. Start a free 3-day GetBill trial on Android.