

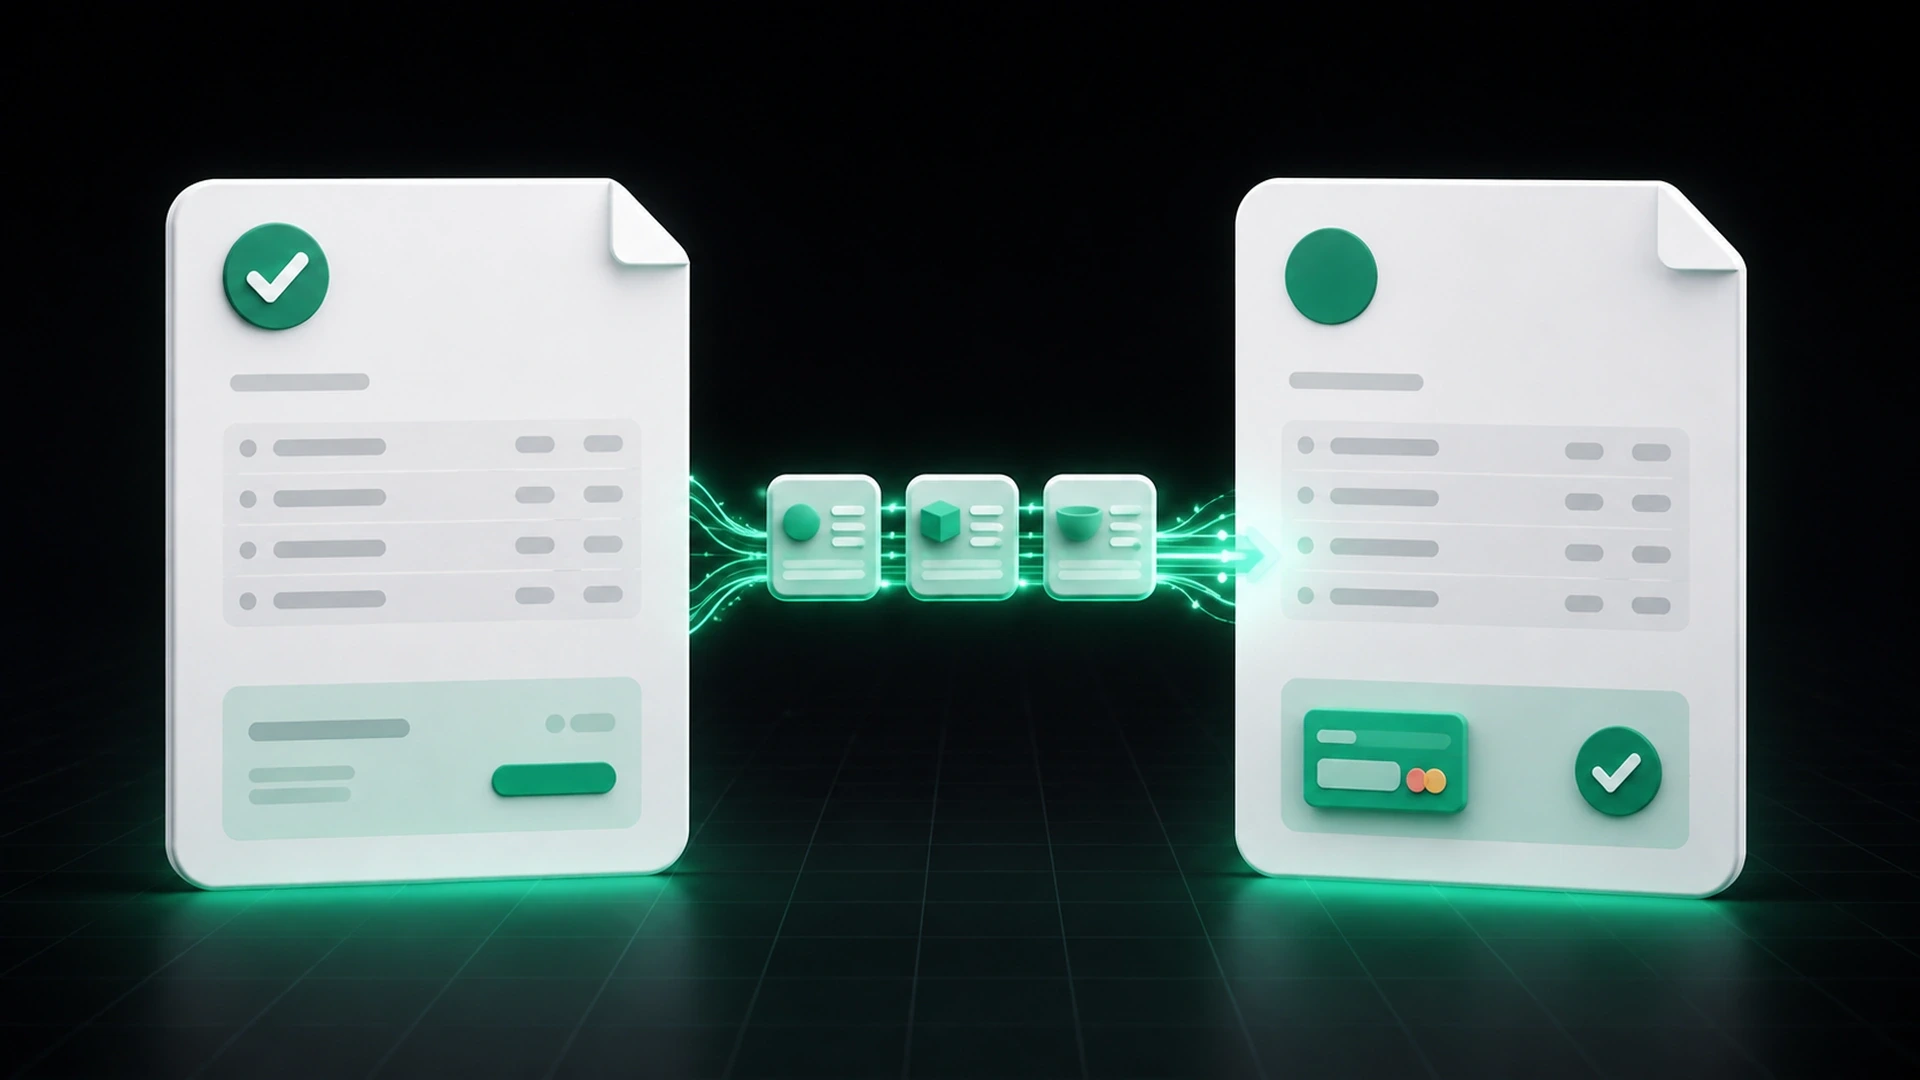
An approved estimate should become the foundation of the invoice—not a document your business has to rebuild from the beginning.
When the client, scope, items, prices, taxes, and notes are entered again by hand, the business creates another opportunity for inconsistent details. A clearer process carries the approved information forward, adds the final billing details, and preserves a connection between what the client accepted and what the business invoices.
This does not mean an estimate and an invoice are interchangeable. They serve different purposes. The goal is to make the handoff between them controlled, easy to review, and simple to repeat.
What changes when an estimate becomes an invoice?
An estimate describes proposed work, products, pricing, and conditions before the final charge is issued. An invoice requests payment for the work or products being billed.
The approved estimate may already contain most of the information the invoice needs, including:
- the client’s name and contact details;
- the products or services;
- quantities and unit prices;
- taxes and discounts, when applicable;
- notes about the work;
- the accepted scope and total.
The invoice may then require additional or updated information, such as an invoice number, issue date, due date, payment instructions, completed quantities, approved changes, or a deposit already received.
A clearer workflow does not copy everything without review. It reuses the approved information and verifies what changed before the invoice is sent.
Why repeated entry causes billing problems
Re-entering the same details may feel manageable when a business sends only a few documents. As volume grows, small inconsistencies become harder to notice.
The billed scope can drift from the approved scope
A service description may be shortened, renamed, or entered with a different quantity. Even when the total is correct, the client may not immediately recognize the relationship between the estimate and the invoice.
Pricing and tax details can be entered differently
Typing line items again creates another point where a price, discount, quantity, or tax setting can change unintentionally. A review is still necessary, but carrying information forward reduces the number of fields that must be reconstructed.
The team loses the decision history
If the estimate is stored in one tool and the invoice is recreated elsewhere, another team member may not know which version the client accepted or whether a change was approved later.
Billing takes longer than it needs to
The administrative work expands when someone has to search messages, compare documents, and recreate client and item details before issuing the invoice.
A step-by-step estimate-to-invoice workflow
1. Confirm that the estimate was accepted
Before preparing the invoice, verify the client’s decision and the version that was accepted. If your process records digital acceptance or rejection, use that record as the reference point.
Do not assume that silence means approval. The business should know what action or confirmation starts the billing handoff.
2. Review the approved scope
Check the client, items, quantities, prices, taxes, discounts, and notes. The invoice should remain recognizable when the client compares it with the estimate.
Ask one practical question: “Does this invoice reflect what the client approved and what the business is now billing?”
3. Record approved changes separately
Projects and orders can change after an estimate is accepted. A client may add work, remove an item, change a quantity, or approve a different price.
Do not hide that change inside a rewritten invoice description. Record the updated scope through the business’s normal approval process, then make the invoice reflect the current agreement. The exact documentation needed depends on the business and applicable requirements; this article is operational guidance, not legal or accounting advice.
4. Convert the estimate instead of rebuilding it
Use a billing workflow that can carry the relevant estimate data into the invoice. This keeps the client and item information connected and reduces repeated entry.
The conversion should still create an invoice with its own identity and dates. Reusing information is not the same as treating the estimate itself as a payment request.
5. Add the final invoice details
Review the fields that belong specifically to the invoice:
- invoice number;
- issue date;
- due date;
- amount currently due;
- payment instructions or available payment path;
- payments or deposits already received;
- remaining balance, when applicable;
- any final notes the client needs.
Keep these details easy to find. The client should not have to search through the original estimate or an email thread to understand the payment request.
6. Compare the invoice with the approved estimate
Before sending, perform a short side-by-side review. Confirm that the client details, descriptions, quantities, prices, and total are consistent or that any differences have a clear explanation.
This final check is especially useful when more than one person prepared the estimate, completed the work, or created the invoice.
7. Send the invoice with a clear next action
The delivery message should tell the client what the document is, what action is expected, and where to ask a question. If an online payment option is available, make the route visible and keep the payment terms consistent with the invoice.
What should stay connected throughout the handoff?
A strong estimate-to-invoice process keeps four types of information connected.
Client identity
Use the same client record and contact information unless the client has approved a change. This helps prevent documents from being sent to the wrong contact or filed under inconsistent names.
Products and services
Reusable product and service records can make descriptions and pricing more consistent. They also reduce the need to remember how an item was written on a previous document.
Approval context
The team should be able to identify the accepted estimate and any approved adjustments. That context helps answer client questions without reconstructing the project history.
Payment record
If a deposit or earlier payment applies, connect it to the invoice and show the remaining balance clearly. Do not replace the original total with the balance; keep both visible in the record.
How GetBill supports the estimate-to-invoice handoff
GetBill helps small and midsize businesses create detailed estimates, send them for digital acceptance or rejection, and convert an accepted estimate into an invoice without entering the same information again.
Businesses can organize clients and products, create professional PDF documents, share them by email or secure public link, and keep payment records and remaining balances connected to the billing workflow. GetBill is available on Google Play: https://play.google.com/store/apps/details?id=com.aimovelogistics.getbill and the Apple App Store: https://apps.apple.com/us/app/getbill/id6796384355.
Start a free 3-day trial to test the process with a real estimate and invoice from your business.
Estimate-to-invoice checklist
Before sending the invoice, confirm that:
- the correct estimate was accepted;
- the client details are current;
- the invoice reflects the approved products or services;
- changes made after approval are documented;
- quantities, prices, taxes, and discounts were reviewed;
- the invoice number, issue date, and due date are present;
- deposits or partial payments are recorded correctly;
- the remaining balance is clear;
- the payment route and contact information are easy to find;
- another team member can understand the handoff without searching through messages.
Take one approved estimate from your current process and compare it with the final invoice. If the same information was entered more than once, test a connected estimate-to-invoice workflow with a free 3-day GetBill trial on Android or iOS.